
Table of Contents Show
Compare to past years Windows is releasing dozens of updates in just single month. No doubt these updates are meant to improve the performance of PC, in return, you will have to give some part of your storage. What I want to say is when you download any update usually our computers start to lag and other errors arise frequently.
Hence, if you want to stop automatic updates on Windows 10, then follow our guide to learn how to disable automatic updates on Windows 10. There are two different methods which will help you to stop automatic updates in Windows 10.
How to disable automatic updates in Windows 10 using Group Policy
In Windows 10 you can easily turn off automatic updates on your PC using Group Policy. Here’s how to do it,
#1. Launch the Start menu.
#2. Make a search for ‘gpedit.msc’.
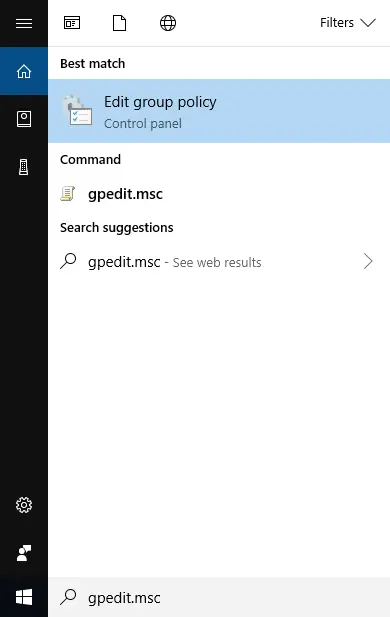
#3. There you will find Edit Group Policy, hit enter.
#4. Next, you have to follow the below-mentioned path,
Computer Configuration>Administrative Templates>Windows Components>Windows Update
#5. Now, find and double-click on Configure Automatic Update.
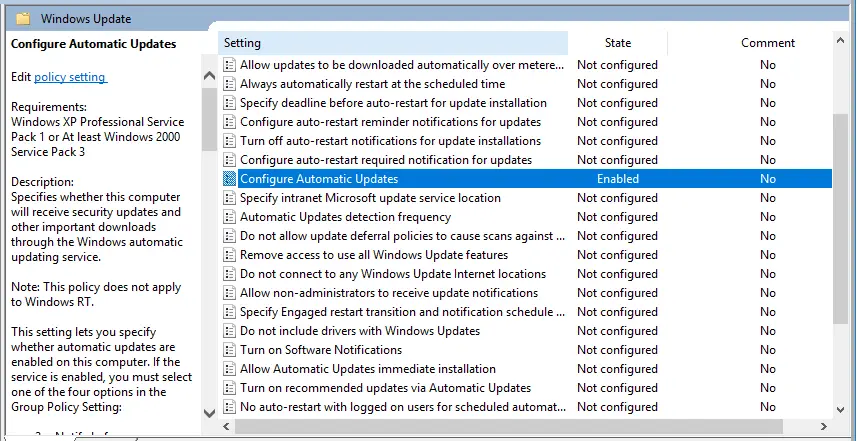
#6. Lastly, select the Disable to stop automatic updates on Windows 10.

#7. Click on Apply and then OK.
In case you want to start automatic update in Windows 10 then follow the same above steps up to 5 and then select Enable instead.
How to scheduled updates in Windows 10
Moreover, if the above solution doesn’t disable automatic updates in Windows 10, then you might want to schedule the automatic updates in Windows 10.
#1. Make a search for ‘gpedit.msc’ in the taskbar.
#2. Choose Edit Group Policy.
#3. Once again follow the similar path,
Computer Configuration>Administrative Templates>Windows Components>Windows Update
#4. Select the Configure Automatic Updates on the right side of the screen.
#5. Here, keep in mind that you are scheduling automatic update in Windows 10 so click on Enable.
#6. After that under the Options section, you will likely to see the following choices,
- 2-Notify for download & auto install
- 3-Auto download & Notify for install
- 4-Auto download & schedule the install
- 5-Allow local admin to choose settings
However, you have to make choice from the above options which meet your requirements. Number 2- Notify for download & auto install is best when you are looking to disable automatic updates permanently in Windows 10.
#7. Click on Apply and OK to save settings.
How to disable automatic updates in Windows 10 using Control Panel
It is another way to stop automatic updates on your PC, follow carefully.
#1. Open the Control Panel right from your desktop.
#2. Go to Administrative tools.

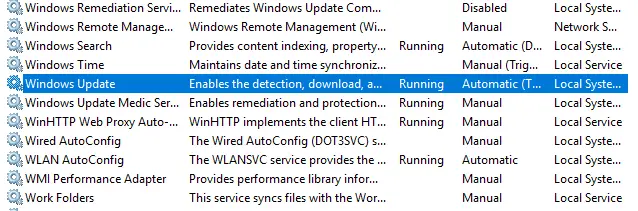
#3. Find Services and hit enter.
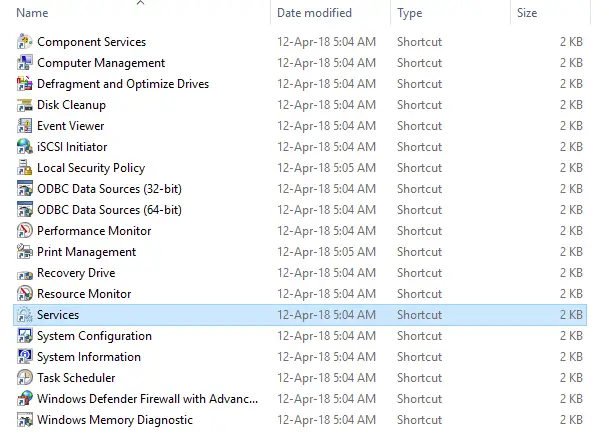
#4. Now, scroll down to the bottom to locate Windows Update and open it.
#5. In the Startup type, select Disabled.
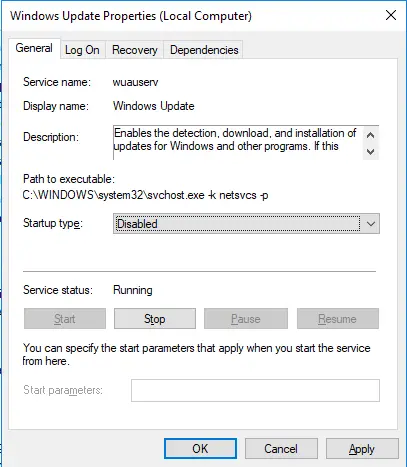
#6. Finally, Click on Apply and OK to save changes.