
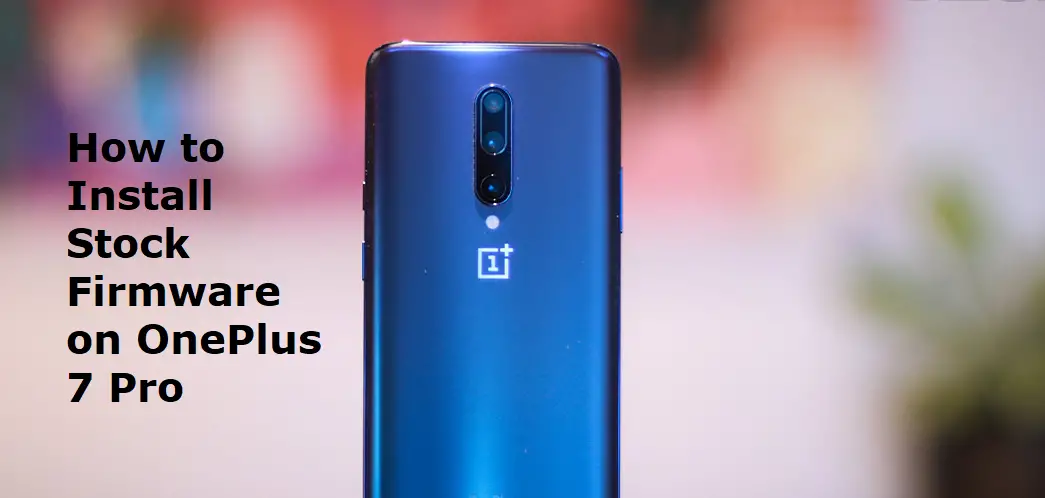
Table of Contents Show
As we all know OnePlus works on OxygenOS, which is quite awesome and enriched with multiple features. Since OnePlus 7 Pro is totally Android-based smartphone, there are high chances of firmware crashing, lagging, and much more other problems. But then Stock Firmware is introduced and most of the people used to install stock firmware on OnePlus devices, to eliminate such problems.
So in case if you are facing any difficulties like freezing, boot loops, unresponsive device, slow performance, etc such problems, then install stock ROM on OnePlus 7 Pro and get rid of all the issues.
Download And Install OnePlus 7 Pro Stock Firmware,
NOTE: We are not responsible, for any internal or external damage that may cause if you follow this procedure. Proceed with the steps, if you know how to do and what to do.
Another thing that is necessary before installing stock firmware on OnePlus 7 Pro, is to take backup to prevent data loss. Make sure your device is charged at least 50% before proceeding with the steps.
- Download the Stock Firmware for OnePlus 7 Pro and then proceed with below steps.
Here’s how to install stock ROM on OnePlus 7 Pro,
- Open the Settings app on your OnePlus 7 Pro.
- Tap About.
- Tap Software Information.
- Select More.
- Now, tap on Build Number 8-9 times until you see a message displaying “Developer Option Enabled”.
- After enabling the developer option, get back to the Settings app.
- Navigate to the Developer Option.
- Toggle ON USB Debugging.
- Now, you have to install the ADB and Fastboot driver on your PC.
- It’s time to extract the OxygenOS ZIP file.
- Next, copy the extracted zip file where ADB is installed. Keep note that copy the OxygenOS file in the same folder where ADB is installed.
- Now you have to reboot OnePlus 7 Pro into recovery mode. To do so, turn off the device and then turn on and hold the Power button and Volume button continuously.
- Once your phone will be in recovery mode, select Install from USB. Confirm by tapping OK.
- “You are in sideload mode” kind of message will reflect.
- Bring USB cable and connect the device to PC.
- Go to the extracted ADB Fastboot folder.
- There open the Command Prompt Window by holding the Shift key and Right click.
- Type in there, “adb devices”.
- Allow USB Debugging, when a pop-up asks you.
- Now, call the OxygenZIP file, by entering the following command. In the filename section, you have to enter the OxygenZIP file name that you have downloaded.
- Windows: “adb sideload <filename>”
- macOS: ”/adb sideload <filename>”
Once you are finished with the procedure, the OnePlus will update to desired OxygenOS.